
How to Prevent DTF Prints from Cracking on Rib Knit Fabrics: Advanced Techniques for Screen Printing Shops
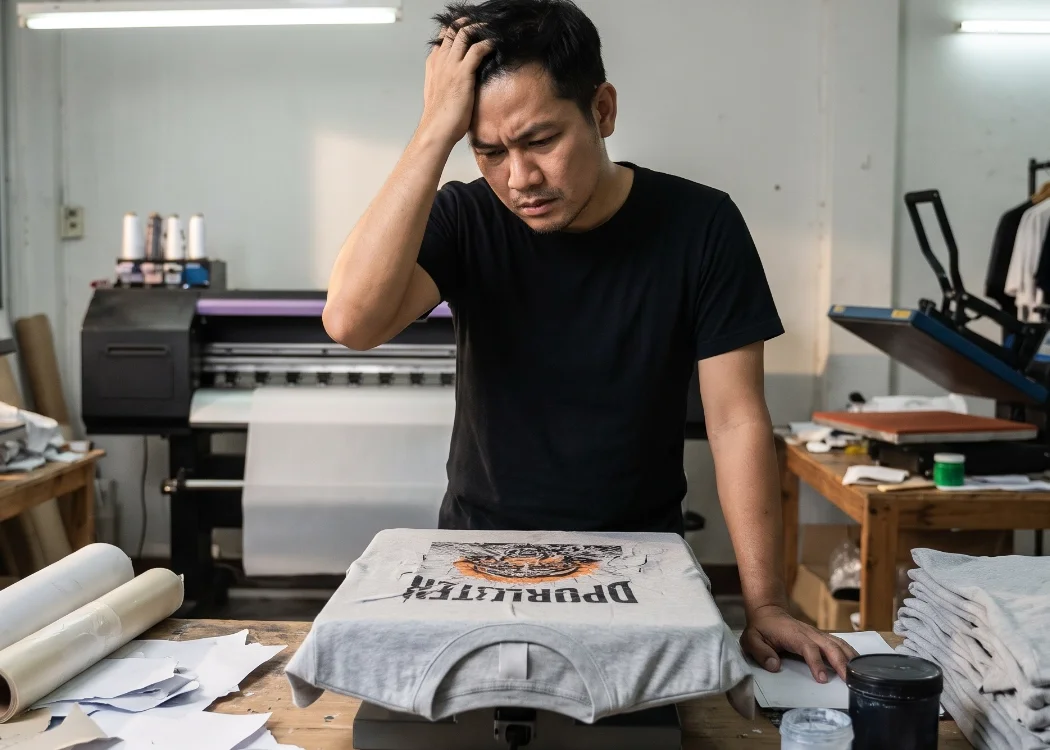
In today’s fast-paced custom apparel and fashion industry, garment decoration technology has evolved immensely. One of the most groundbreaking innovations is DTF (Direct to Film) printing. This technology allows designs to be printed onto a special film and heat-pressed directly onto garments. It has skyrocketed in popularity because it delivers vibrant, complex, and high-definition colors without the need to set up traditional screen printing blocks, making it perfect for both bulk orders and small, custom, single-piece runs.
However, despite its versatility, many custom screen printing shops face a major challenge when applying DTF transfers to highly elastic materials like Rib Knit fabrics.
Rib knit is heavily favored for crop tops, fitted shirts, tank tops, and neckbands or cuffs. Its unique weaving technique creates alternating raised and recessed vertical ridges, allowing the fabric to stretch horizontally far beyond the capacity of standard cotton. This elasticity is a double-edged sword for custom shirt printing. If a printer does not understand the fabric’s structure and uses a standard heat press technique, the DTF print will stretch along with the fabric when worn, leading to ugly cracks, peeling, and a low-quality appearance.
This comprehensive guide dives deep into the best practices, material selection, and advanced heat press techniques for DTF screen printing on Rib Knit, ensuring your prints remain flexible, durable, and crack-free.
Understanding Rib Knit Structure: Why Do DTF Prints Crack?
Before fixing the problem, we must understand the root cause. Rib Knit features a “Knit and Purl” structure, creating visible ridges and valleys. Think of this weave like a coiled spring. In its natural, relaxed state, the ridges sit tightly together. When pulled, they expand and flatten out.
If you apply a DTF transfer while the fabric is fully relaxed and contracted, the adhesive and ink melt and bond to the top surface of the ridges, forming a single, solid, inflexible layer. When the wearer puts the shirt on and the fabric stretches, the solid ink layer—which has much less elasticity than the fabric—cannot expand into the hidden valleys. The resulting tension tears the DTF film apart, causing micro-cracks or deep splits along the vertical lines of the ribs.
Inexperienced screen printers often blame the DTF ink or the printer. In reality, the issue stems from a mismatch between the elasticity of the hot melt powder and the structural mechanics of the fabric.
Selecting the Right Materials for Stretchable Fabrics
Solving the cracking issue doesn’t rely solely on the pressing technique; it starts with selecting the right DTF consumables. When running a professional screen printing shop, knowing your fabric dictates your material choices.
- TPU Stretch Powder (Highly Flexible Hot Melt Powder) The hot melt powder is the bridge between the DTF ink and the fabric fibers. For standard cotton shirts, standard adhesive powder works perfectly. However, for Rib Knit, you must upgrade to a highly flexible polyurethane (TPU) stretch powder. Once melted and cured, TPU stretch powder acts like a highly resilient rubber band. It expands with the fabric and snaps back to its original shape without tearing. Investing in premium TPU powder slightly increases costs but drastically elevates print durability.
- Premium DTF Transfer Film The coating on your PET film plays a crucial role. High-quality films hold the ink efficiently, allowing the ink and powder layers to fuse seamlessly before hitting the garment. This seamless fusion enhances the overall elasticity of the final print. While cold-peel, warm-peel, or hot-peel films all work, cold-peel films generally provide sharper details and a smoother hand-feel on deeply grooved fabrics.
- Flexible DTF Ink & White Ink Management While most DTF inks on the market share similar baselines, premium brands formulate their inks to be highly tensile and stretch-resistant. Furthermore, software settings matter. Over-saturating the white ink base layer will make the print thick, stiff, and prone to cracking. Always adjust the white ink density to an optimal level that provides enough opacity for dark garments without compromising flexibility.
Advanced Heat Press Techniques to Prevent Cracking
Once the right materials are prepped, the heat press stage determines the ultimate success of the print. For Rib Knit, you cannot simply lay the shirt flat and press it. Follow these advanced steps used by top screen printing shops:
Step 1: The Pre-Press (Moisture Removal)
Thread the ribbed garment onto the heat press platen and press the blank fabric for 5 to 10 seconds. This step is critical to remove trapped moisture that could interfere with adhesive bonding. It also temporarily flattens the ribbed texture, making it easier to align your artwork accurately.
Step 2: The “Stretch Trick” (The Most Crucial Step)
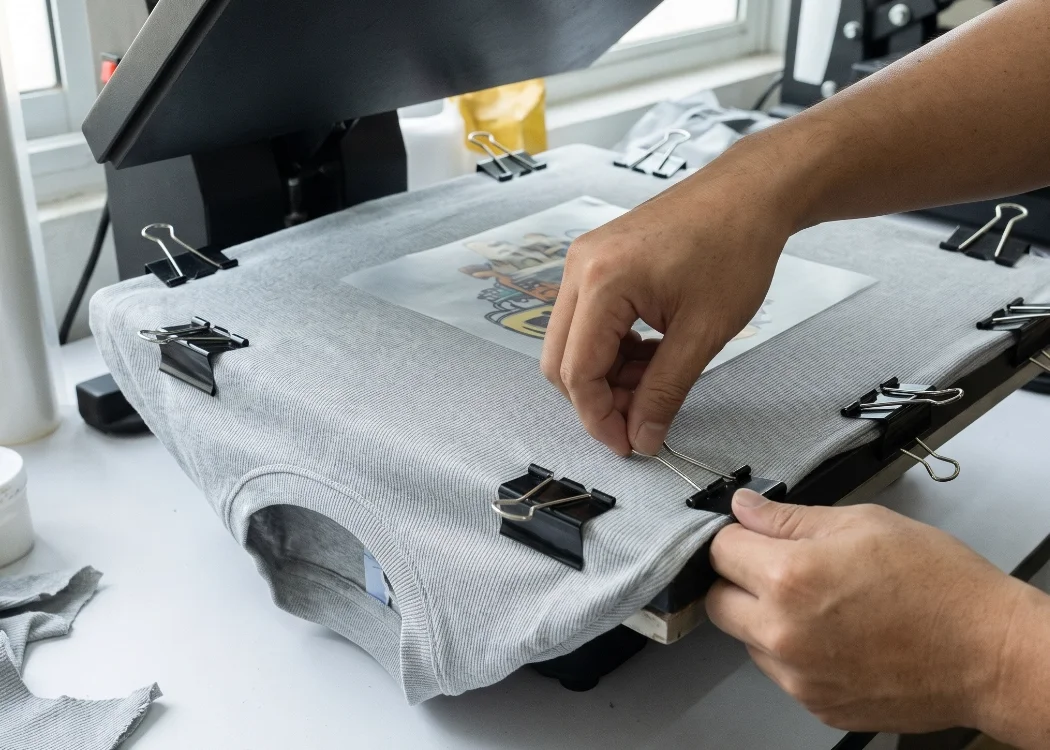
This is the secret technique used by professional custom apparel decorators. To get the DTF adhesive to penetrate the deep valleys of the fabric, you must force those valleys open before pressing. After the pre-press, gently stretch the fabric horizontally across the platen where the design will be placed. You can use large binder clips to secure the stretched fabric to the edges of the platen, or utilize a platen that naturally stretches the shirt. Caution: Do not overstretch the fabric to its absolute limit, as it may warp the garment permanently. Stretch it moderately, simulating how it would look when worn on a human body. This opens the grooves to receive the melting ink and adhesive.
Step 3: The First Press
With the fabric properly stretched, place your DTF film. Press using the temperature and time recommended for your specific TPU powder (typically around 300°F / 150°C for 10-15 seconds) using medium-to-heavy pressure. Because the fabric is stretched, the melting adhesive flows deeply into the opened grooves rather than just sitting on top. This creates the required flexibility.
Step 4: Peeling the Film
Once the timer goes off, lift the press. Let it cool or peel immediately, depending on your film type (Cold Peel or Hot Peel). As you remove the film and unclip the stretched fabric, the Rib Knit will snap back into its relaxed state. The DTF print will contract along with it, hiding in the grooves. This means when the customer wears it, the print has built-in “slack” to expand without tearing.
Step 5: The Second Press (Sealing for Maximum Durability)
Never skip this step in DTF printing, especially on stretch fabrics. Cover the exposed design with a Teflon sheet or parchment paper and press again for 5 to 10 seconds. This second press acts as a sealant, driving the adhesive even deeper into the fabric fibers. It eliminates the “plastic” feel, leaving a soft, matte finish that is highly wash-resistant.
Quality Control (QC): The Stretch Test
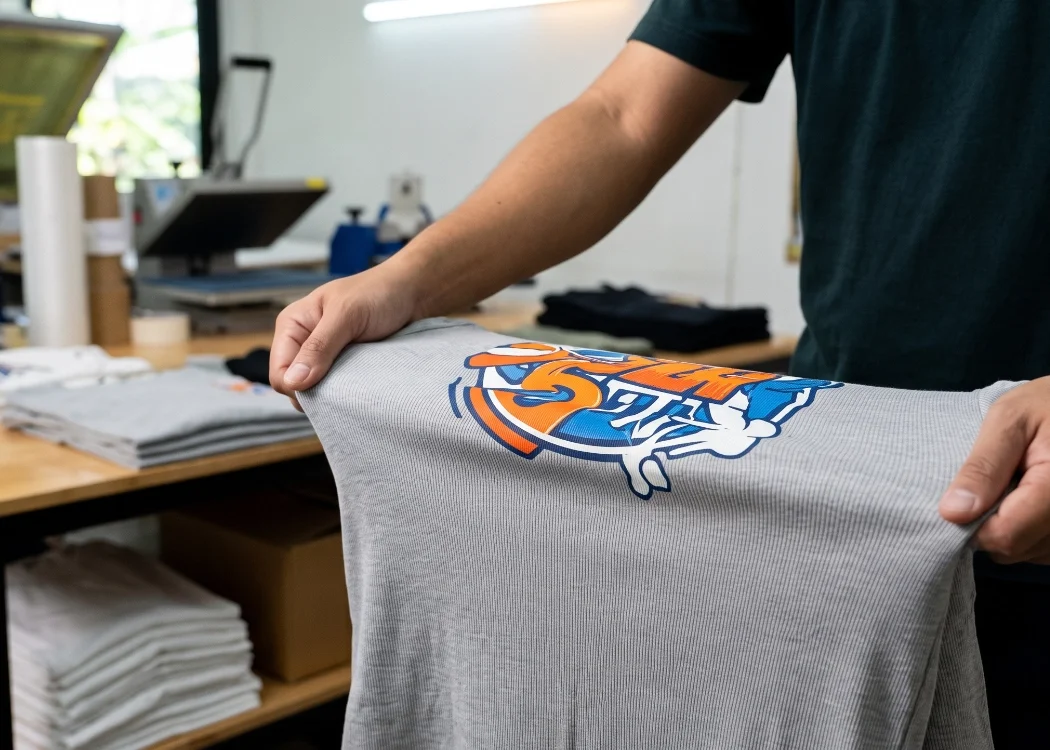
A reputable custom t-shirt printing shop always performs Quality Control before handing the product to the client. For ribbed fabrics, the ultimate QC is the Stretch Test. Once the garment is completely cool, grab the fabric on both sides of the print and gently pull outward. If you followed the steps correctly, used TPU stretch powder, and applied the “Stretch Trick,” the design will expand beautifully without a single micro-crack. When you release it, the print should snap back perfectly without warping.
Care Instructions for Customers
Even the best DTF prints require proper maintenance. To ensure your customers get the most out of their custom apparel, always provide a Care Label with the following guidelines:
- Wash Inside Out: This prevents the print from rubbing against the washing machine drum or other abrasive garments.
- Cold Water Wash Only: High temperatures can degrade the hot melt adhesive over time.
- Avoid High-Heat Tumble Drying: Heat from dryers is the number one enemy of custom prints, causing them to dry out and crack. Hang dry in the shade or use a no-heat tumble setting.
- Never Iron Directly on the Print: Always turn the shirt inside out to iron, or place a protective cloth over the design. Direct contact with an iron will instantly melt the DTF ink and ruin the garment.
Conclusion
Successfully DTF printing on Rib Knit fabric might seem like a daunting task that causes many printers headaches. However, by understanding the fabric’s mechanics and adjusting your workflow, these issues are entirely preventable.
The secret boils down to three golden rules:
- Use highly flexible TPU stretch powder.
- Apply the “Stretch Trick” to open the fabric grooves during the first press.
- Always execute a second press to seal the ink into the fibers.
If you are a brand or customer looking for a highly skilled screen printing shop that understands the precise science behind every fabric type—from standard cotton and ribbed knit to performance sportswear—we are here to help. We utilize premium commercial-grade machinery and high-quality materials paired with professional techniques to guarantee that every custom shirt is vibrant, sharp, and built to last without cracking. Contact us today to turn your brilliant ideas into premium, wearable art that moves with you!
Ready to Print Custom DTF with Screen168 Bangkok?
Single pieces to bulk wholesale. Free artwork file check and instant online pricing 24/7.
🚀 View Sizes, Prices & Order Online→