
How to Choose the Right Artwork File Size for Clear Prints on T-Shirts Using DTF
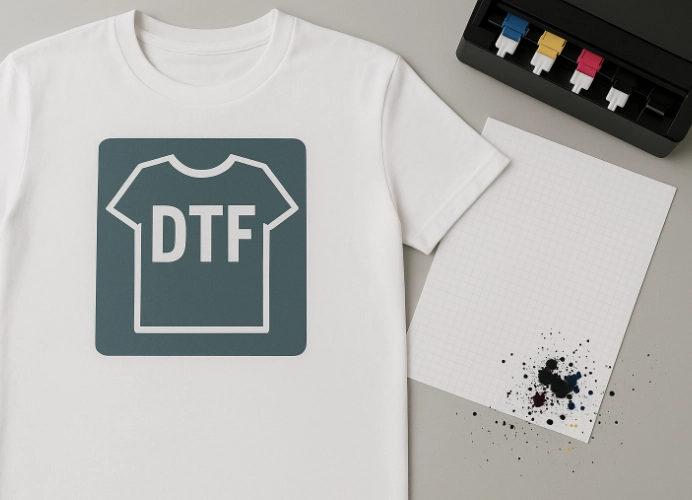
In the Age of Easy and Accessible T-Shirt Printing, DTF Technology Dominates the Market
In an era where t-shirt printing has become increasingly accessible and easy, DTF (Direct to Film) technology has emerged as one of the most popular methods in the garment printing industry. Whether it’s for fashion t-shirts, group shirts, organizational wear, or online sales, DTF technology offers speed, clarity, and design flexibility.
However, one common challenge for t-shirt printing shops or even novice designers is the “Artwork File” used for printing. If the file is too small, the printed image will appear blurry, pixelated, or unsharp. Conversely, if the file is too large, it will waste ink, time, and unnecessarily strain the printer.
This article will guide you through selecting the right size for your Artwork files to ensure clarity and suitability for actual garment printing.
Understanding DTF: What is it?
DTF (Direct to Film) is a printing process where an image is printed onto a PET film using special ink, then covered with hot-melt adhesive powder, and finally heat-pressed onto the fabric. The key advantages of this system include:
- No color limitations
- No need to create traditional silk screens
- Printing on various fabric types (cotton, polyester, blends)
- Quick turnaround for urgent orders
However, due to DTF’s high-resolution printing capabilities, it requires high-quality artwork files with appropriate sizing.
Common issues when setting the wrong file size:
-
Too small:
- Blurry, pixelated, or unsharp prints
- Tiny text becomes illegible
-
Too large:
- Unnecessary ink waste
- Printer processing delays and error risks
- Longer loading and processing times
The right file size ensures sharp images without wasting materials. Balancing clarity and ink conservation is the key, which can be calculated based on the following main factors:
- Define the actual print size first
Before creating the artwork file, determine the size of the print, such as:
- Chest: 28 x 28 cm
- Full back: 35 x 45 cm
- Sleeve: 8 x 8 cm
Recommended units are centimeters, and inches should be used when DPI (dots per inch) is required.
- What DPI ensures clarity?
DPI is the density of dots per inch, directly affecting print quality.
- Low DPI (<150 DPI): Blurry, suitable for drafts or very small prints.
- Medium DPI (200 DPI): Adequate for general t-shirt printing.
- High DPI (300 DPI): Best for photo prints or detailed designs.
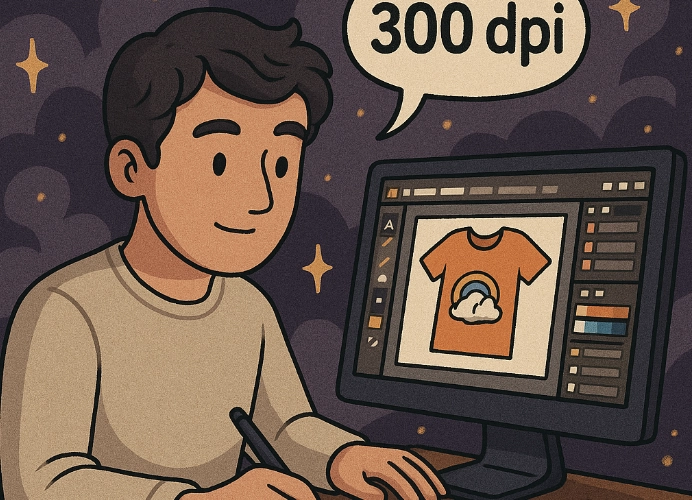
- DPI over 300: Wastes ink without visible improvement on the shirt.
Summary: DTF should use 200-300 DPI as a standard.
- Calculating File Size (Pixels)
Once the print size and DPI are set, calculate the file size in pixels:
Size (pixels) = Actual size (inches) x DPI
Example: Printing a chest design 28x28 cm (≈ 11x11 inches) at 200 DPI
Width = 11 x 200 = 2200 px
Height = 11 x 200 = 2200 px
Therefore, the file should be 2200 x 2200 px.
Using a larger size, such as 5000 x 5000 px, will not improve sharpness but will waste ink and slow down file loading.
- Recommended File Formats for DTF
DTF files should be raster formats supporting transparent backgrounds, such as:
- PNG: Lightweight, supports transparency, suitable for general printing.
- PSD: Used in Photoshop, easy to edit but large file size.
- TIFF: High quality, uncompressed, but very heavy file size.
Avoid using JPEG because:
- Does not support transparency
- Compresses details
- Can Vector Files (AI, SVG) be Used?
Vector files are ideal for design work like logos, lines, and text, as they scale without losing quality. However, they must be converted to raster formats before printing, with appropriate DPI and size settings.
- Tips for High-Quality Printing
- Remove unnecessary backgrounds: If the shirt is white, avoid using a solid white background in the file.
- Separate white layers: To prevent the printer from spraying white ink in unnecessary areas, making the design thinner.
- Optimize file compression: Use PNG-8 instead of PNG-24 for designs with fewer colors.
- Adjust opacity: Some areas don’t need full opacity, reducing ink usage.
- Additional Tips
- Create standard templates: Such as 28x28 cm, 300 DPI for easier design work.
- Set Photoshop/Illustrator to RGB mode: DTF prints with CMYK+W ink, but starting with RGB allows better color control.
- Use high contrast colors: Helps the design stand out on the shirt without excessive ink usage.
- Frequently Asked Questions (FAQs)
Q: Can I use DPI lower than 200?
A: Yes, if the work doesn’t require high detail, such as small black-and-white logos. However, for sales or visible customer work, use 200 DPI or higher.
Q: How do I know if ink is being wasted?
A: If the file is larger than 4000px unnecessarily or has a solid background throughout, the printer will spray more ink, increasing costs.
Q: What if I receive a JPEG file from a customer?
A: Try to get the customer to switch to PNG. If not, open the JPEG in Photoshop, remove the background, clean it up, and save it as PNG.
Summary
Setting the correct size for your Artwork files is crucial for sharp and professional t-shirt printing.
Start by defining the actual print size, use appropriate DPI (200-300 DPI), calculate the pixel size accurately, use formats that support transparency like PNG, and avoid unnecessarily large files.
Understanding these principles will help you create beautiful, sharp designs, reduce unnecessary costs, and effectively communicate with and assist your customers.
Ready to Print Custom DTF with Screen168 Bangkok?
Single pieces to bulk wholesale. Free artwork file check and instant online pricing 24/7.
🚀 View Sizes, Prices & Order Online→