
How to Clean DTF Printer Heads Manually: Solve Ink Clogging Issues
For those running a DTF (Direct to Film) T-Shirt Printing shop, one of the unavoidable issues is the “clogged printhead,” particularly from the white ink that contains titanium dioxide, which is heavy and prone to settling. When you encounter printing issues like banding, uneven color, or incomplete white coverage, the first instinct of a printer is to perform a head cleaning through the computer software.
However, in many cases, no matter how many times you run a cleaning cycle—whether normal or strong—from the computer, it simply doesn’t resolve the issue. The more you clean, the more ink is wasted, and the problem worsens. This indicates that the ink sediment has settled deep within the printhead, beyond the suction power of the pump to clear. It’s time to take drastic measures: manual printhead cleaning, or flushing the printhead directly with cleaning solution (Printhead Flushing).
In this article, Screen168 will delve into the techniques and steps for proper manual printhead cleaning to revive your precious printhead without immediately replacing it.
Why doesn’t cleaning from the computer always work?
Before diving into the cleaning process, it’s important to understand the mechanics. When you initiate a clean from the RIP software or printer driver, the system instructs the ink pump mechanism (pump cap or capping station) under the printhead to “suck” ink from the tank, through tubing, through the ink damper, and then flush the printhead nozzles.
The problem arises when large ink sediment particles clog the damper filter or adhere to the printhead nozzles. The pump’s suction is often insufficient to remove these clogs, so even though the motor works harder during cleaning cycles, the ink flow remains disrupted. This is why external pressure is needed to clear the blockages.
Equipment Needed for Manual Printhead Cleaning
Proper preparation of tools is crucial to prevent further damage to the printer’s electrical system.
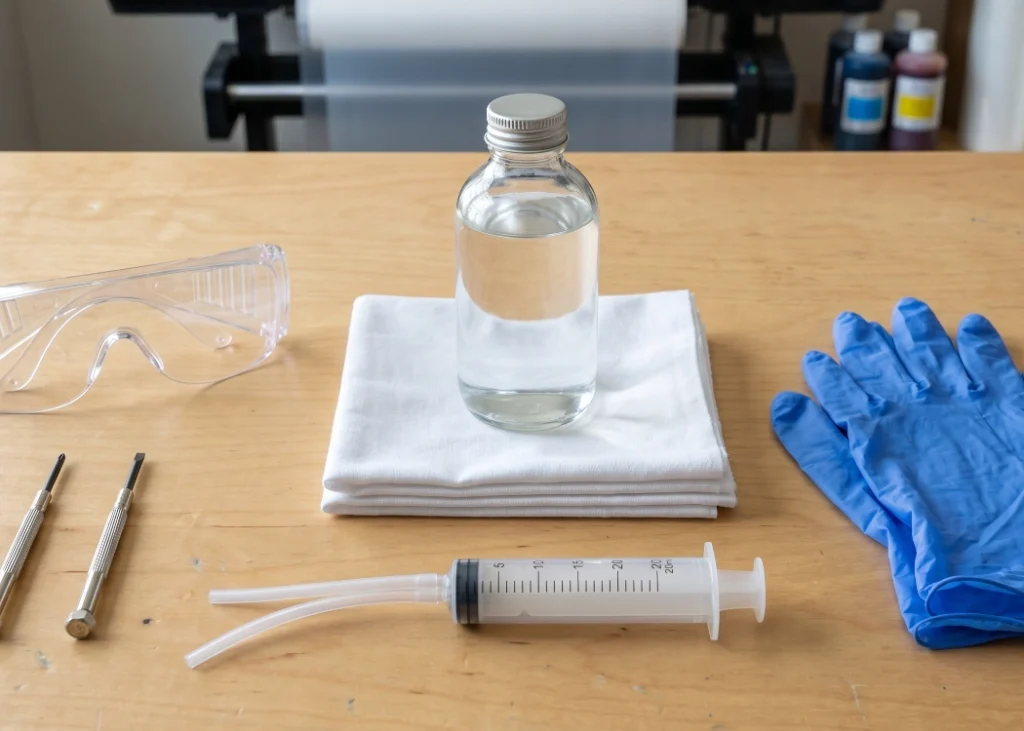
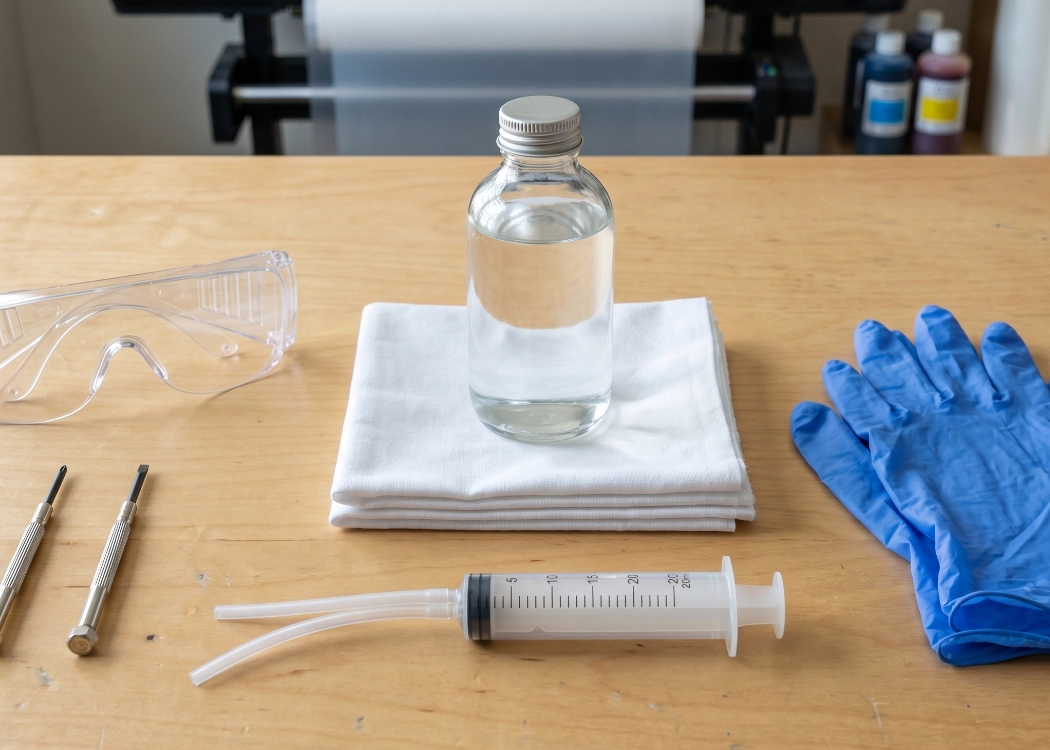
Syringe: 10ml - 20ml capacity, should be clean and have a smooth plunger action
Silicone tubing: For connecting the syringe to the ink port on the printhead (must fit snugly)
Printhead cleaning solution: Essential! Must be specific to DTF or pigment ink, never use the wrong type
Lint-free cloth or microfiber cloth: For cleaning the printhead surface
Steps for Manual Printhead Cleaning
-
Prepare the Printhead for Cleaning
Disconnect the problematic damper from the printhead carefully, ensuring not to damage the ink port.
-
Flushing the Printhead
Draw approximately 5-10 ml of cleaning solution into the syringe, avoiding air bubbles.
Attach the silicone tubing to the syringe and the printhead ink port securely.
Gently and slowly push the syringe plunger to flush the nozzles, observing the solution flow onto the cloth. After 3-5 ml, pull back slightly to create a push-pull action, repeating this process 2-3 times. If the solution becomes clearer, the nozzles are likely clear.
-
Clean the Printhead Surface
Once flushed, gently wipe around the printhead edges and the plate with a damp lint-free cloth to remove any residual ink.
-
Reassemble and Charge Ink
Reattach the damper securely and replace the cover. Move the printhead back to the home position and power on the printer.
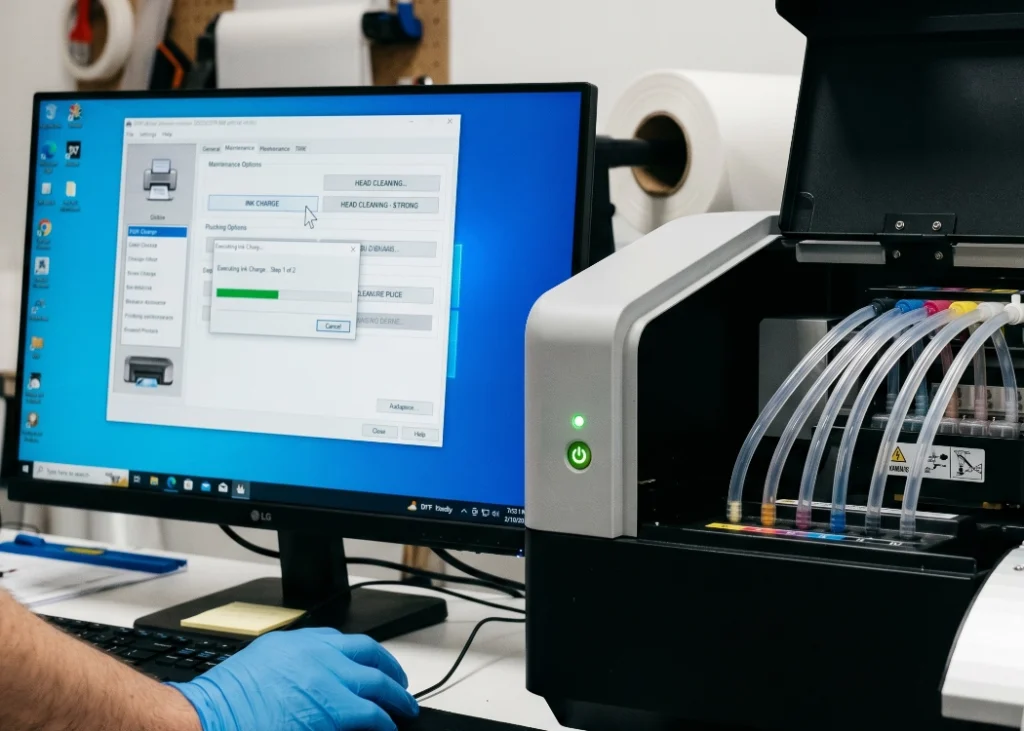
After powering on, initiate an ink charge or strong head cleaning cycle through the computer to refill the damper and printhead with ink. Then, print a nozzle check to verify the results.
Tips from the Pros: How to Prevent Printhead Clogs for Longevity
Manual cleaning is a reactive measure with risks. To avoid frequent cleaning, follow these preventive practices:
- Maintain white ink circulation: Ensure the white ink agitator motor is functioning correctly and there are no leaks in the ink system.
- Control temperature and humidity: Keep the print room at 20-25°C and 40-60% humidity. High temperatures and dry air accelerate ink clogging.
- Keep the printer active: Even without orders, run a nozzle check or small color print daily to keep ink flowing through the printhead.
Conclusion
Addressing banding issues through manual printhead cleaning is a crucial skill for T-Shirt printing shop owners, saving significant time and costs compared to waiting for repairs. The key is gentle handling and using the correct cleaning solution. Follow the steps carefully, and your printer will return to optimal performance.
This guide provides a comprehensive approach to troubleshooting and maintaining DTF printers, ensuring they remain productive and cost-effective. For more detailed information and troubleshooting tips, visit Screen168’s resources.
Ready to Print Custom DTF with Screen168 Bangkok?
Single pieces to bulk wholesale. Free artwork file check and instant online pricing 24/7.
🚀 View Sizes, Prices & Order Online→